


Solar Power in LifeEdited Apartment by Voltaic Systems
In the coming months, we will be highlighting products and services we use in the LifeEdited apartment. Today, we’re looking at our solar powered lighting and charging system by a company normally known for their portable solar chargers, Voltaic Systems. This post originally appeared in Votaic’s Blog.
We have been working for some time on our latest product, the USB Touchlight. This is a super bright, USB-powered LED light, designed to run from our solar batteries.

When our good friends at LifeEdited asked us to set up a mini solar system for their innovative 420 square foot New York apartment, we jumped at the chance to put the Touchlight into action. We installed a 13 watt solar system discretely mounted on a ledge outside the apartment, feeding two of our V39 USB batteries with enough power to feed an iPad, phone, a couple of our Touchlights, and other USB devices. It proved invaluable recently when the apartment was blacked out during hurricane Sandy.
Many of our customers are interested in using our kits for similar applications and have asked about installation.
Here is how we did it. We essentially used 2 of our 6.8-W kits:
1 x Touchlight
4 x 3.4W 6V solar panels
2 x V39 39-Wh batteries
1 x 4-panel 6V/12V circuit box
1 x panel extension cable
Various connectors
1” aluminum strip
Panels: Being a New York City apartment, outdoor space was limited to a small ledge of metal flashing below the window sill about 5” wide. We configured our 3.4W panels end-to-end longways so they would fit. We opted to use four panels because the light exposure is pretty limited, only about 2-3 hours of direct light per day.
Given that our panels come with threaded bolts for mounting, we used two long strips of 1” wide 1/4″ aluminum as the foundation. We lined up the panels and marked off the locations for holes on the first strip, then drilled 1/2” holes (big enough for the nylon nuts to sit inside).

After attaching the panels to the first strip we repeated the process for the other side to get two strips holding all four panels in place.

We could have just secured the strips directly to a substrate, however we didn’t want to screw into the flashing (since that would undermine its waterproofing), so we took the additional step of attaching two strips of aluminum U-channel (3/4” each side) which provided a flat even surface to secure to the flashing with silicone. This created a space under the panels for the circuit box and wires, reduced the likelihood of water backing up, and makes it easy for us to remove the panels for service without having to cut the silicone connection. The U-channels were cut to length and attached with self-tapping screws to the 1” strips.

Panel Installation: With that done, we were ready to install the solar array on-site. We hacked one of our 4 panel circuit boxes, and attached the output wire to some electrical wire. We then fed the wire into the apartment through an existing hole in the window frame. Our 2 panel circuit boxes could be used here (with two 6.8W kits), but the 4 panel option was cleaner.

We then connected each panel to the input of the circuit box (having checked that each panel worked individually and provided an output to a battery). We then used small sections of silicon tubing to waterproof the connections. All of this fit nicely behind the panels inside the frame.

From there, it was just a matter of actually securing the rig to the flashing. We applied a thick bead of exterior silicon to both of the U-channels, secured a wire safety line to catch the rig in case it came loose, and pressed it into place. We then added some strips of masking tape to keep it in place while the silicon dried.


Batteries: We decided to run the four panels to the two V39 batteries wired in parallel, so that one wire from the panels was split to go to both batteries. That way, whatever power was generated by the panels would go to whichever battery could absorb it. From there we would run wires to the lights. We hacked a couple of our 3 or 4 panel circuit boxes to get 5.5×2.1mm male plugs and joined these to the copper wire we had fed through the window frame. This could as easily be done with the “power out” wires from our 2 panel circuit box and a 5.5×2.1mm adapter. We connected the plugs to the batteries and saw the LEDs on the batteries light up indicating they were charging and the circuit was good. The Life Edited carpenter later made a custom nook for our batteries inside the closet by the bed, which seemed the right place for charging a phone or tablet.


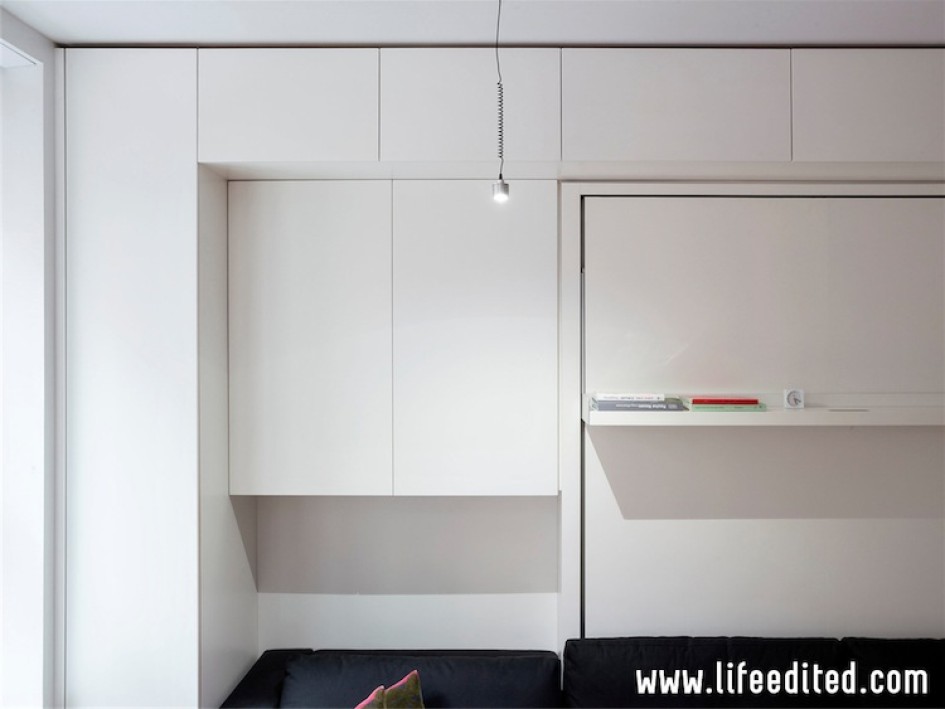
Lighting: The walls were open so we had the opportunity to run the wire to our Touchlight to the ceiling over the bed. We hadn’t really contemplated this sort of installation in the design, but it was not too difficult to pull together some parts from the lighting store to make a mount for the plug. We tied a knot in the end of the wire, fed it through a threaded rod, and held it in place with silicone inside the rod. Then we screwed the rod into a bracket also from the lighting store. There are many ways this could have been done, including a simple hole through the ceiling with the wire coming through. In this case we wanted the threaded rod so we have the option of removing the light and wire (the moveable wall in the apartment is very close to the ceiling), and of mounting a more complicated hanging light fitting. To test, we made the connection with one of our adapters (3.5×1.1mm to 3.5×1.1mm)


Thanks to LifeEdited for inviting us to contribute to their ultra-efficient living space. It was a lot of fun and is a great example of how solar can be implemented on a small scale in even the most space-limited locations.
Pingback: Off-Grid Cabin in Hawaii | Voltaic Systems Blog – Solar DIY and Device Charging()